
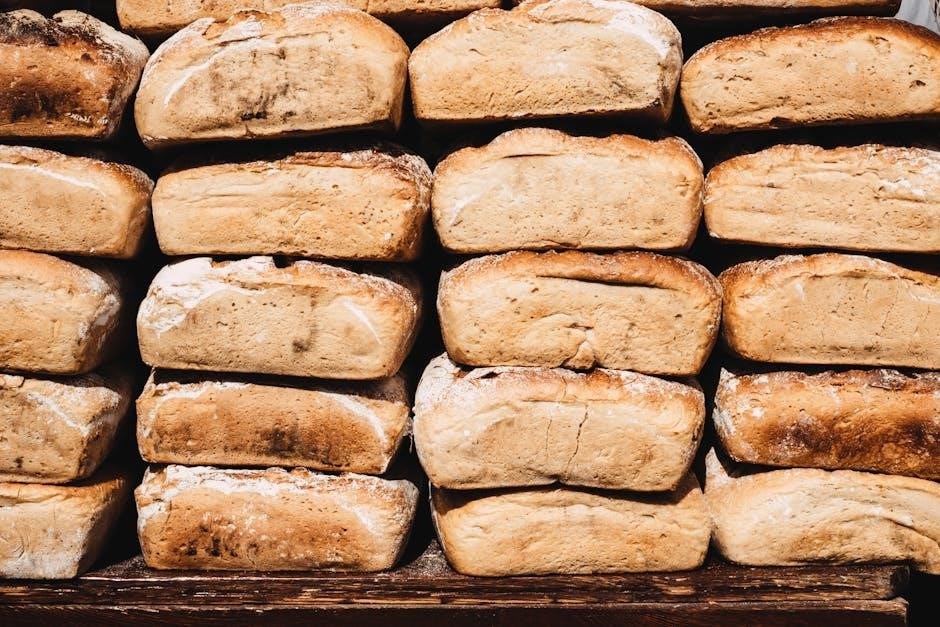
Morphy Richards bread makers simplify home baking, offering convenience and consistent results․ These appliances, like the MR1000 and MRBRD13W, are popular for diverse recipes․
What is a Morphy Richards Bread Maker?
A Morphy Richards bread maker is a countertop appliance designed to automate the bread-making process․ Unlike traditional methods requiring kneading and proofing, these machines handle everything from mixing ingredients to baking a finished loaf․ Models like the MRBRD13W and MR1000 offer pre-programmed settings for various bread types – white, whole wheat, rye, and even gluten-free options․
Essentially, it’s a self-contained bakery! The machine features a non-stick baking pan, a kneading paddle, and a heating element․ Users simply add ingredients in the specified order, select a program, and the bread maker takes care of the rest․ These appliances are praised for their ability to consistently produce fresh, homemade bread with minimal effort, making baking accessible to everyone․
Benefits of Using a Morphy Richards Bread Maker
Morphy Richards bread makers offer numerous advantages․ Primarily, they provide convenience – enjoy fresh bread without the manual labor of kneading and rising․ They also promote healthier eating by allowing control over ingredients, avoiding preservatives found in store-bought bread․ A variety of programs cater to diverse dietary needs, including gluten-free baking․
Furthermore, these machines are cost-effective in the long run, reducing reliance on expensive bakery items․ Models like the MR1000 and MRBRD13W offer consistent results, minimizing baking failures․ The ability to experiment with flavors – adding fruits, nuts, or seeds – enhances the baking experience, creating customized loaves tailored to individual preferences․
Understanding Your Morphy Richards Bread Maker Model
Morphy Richards offers diverse models like MRBRD13W and MR1000․ Familiarizing yourself with your specific model’s features is crucial for optimal baking performance and results․
Identifying Your Specific Model (MRBRD13W, MR1000 etc․)
Determining your exact Morphy Richards bread maker model is the first step to successful baking․ Models like the MRBRD13W and MR1000, while sharing core functionality, may have slightly different program options and capacities․ Locate the model number typically found on a sticker underneath the machine or within the appliance’s manual․
This information is vital when searching for specific recipes or troubleshooting guides online․ Knowing your model allows you to access the correct instruction manual, ensuring you utilize the appropriate settings for your bread maker․ Referencing the correct manual guarantees optimal performance and prevents potential issues during the baking process․ Accurate identification unlocks the full potential of your appliance․
Key Components and Their Functions
A Morphy Richards bread maker comprises several key components․ The baking pan is where ingredients combine and bake, often including a non-stick coating․ The kneading paddle, or whisk, mixes ingredients to develop gluten․ Some models feature multiple paddles for even mixing․ The heating element ensures consistent baking temperatures․
The control panel allows program selection and setting adjustments․ Filters, particularly for kettle and coffee maker versions, are not covered under guarantee․ Understanding each component’s role is crucial for proper operation and maintenance․ Regularly checking and cleaning these parts ensures longevity and optimal bread-making performance․ Proper component care is essential for consistent results․

Setting Up Your Bread Maker
Before first use, ensure the bread maker is placed on a stable surface and properly connected to a power source for optimal function․
Initial Cleaning and Preparation
Prior to your first baking adventure with your Morphy Richards bread maker, a thorough cleaning is essential․ Carefully remove all packaging materials and wipe down the exterior with a damp cloth․ The baking pan and kneading blade are typically removable; wash these components in warm, soapy water, ensuring all residue is eliminated․
Pay close attention to the areas where ingredients might accumulate․ Rinse thoroughly and dry completely before reassembling․ It’s also advisable to run a practice cycle – a simple dough cycle without any ingredients – to burn off any manufacturing odors and further prepare the machine for use․ This initial preparation guarantees a clean and fresh start for your baking endeavors․
Placing and Connecting the Bread Maker
Select a stable, level surface away from water sources and direct heat to position your Morphy Richards bread maker․ Ensure adequate ventilation around the appliance, leaving several inches of space on all sides․ Once placed, connect the power cord securely into a grounded electrical outlet․
Avoid using extension cords if possible; if necessary, ensure it’s rated for the appliance’s wattage․ Before plugging in, verify the voltage compatibility between the bread maker and your power supply․ Proper placement and connection are crucial for safe and efficient operation, preventing potential hazards and ensuring optimal performance throughout the baking process․
Basic Bread Making Instructions
Successful bread making requires precise ingredient order, program selection, and understanding baking times․ Morphy Richards machines offer pre-set programs for various bread types․
Adding Ingredients in the Correct Order
Achieving optimal results with your Morphy Richards bread maker hinges on the correct layering of ingredients within the baking pan․ Generally, liquids should be added first, ensuring they reach the heating element directly․ Following liquids, incorporate dry ingredients like flour, sugar, and salt․
Crucially, create a small well in the center of the dry ingredients for the yeast; this prevents direct contact with the liquid, preserving its activating power․ Finally, add any fats, such as oil or melted butter, on top․ This order ensures proper mixing and activation during the kneading process․ Avoid adding ingredients like fruits, nuts, or seeds at this initial stage; these are typically added during the second kneading cycle, signaled by the machine’s beep․
Selecting the Appropriate Program
Your Morphy Richards bread maker boasts a variety of pre-programmed settings designed for different bread types and baking needs․ Carefully review the control panel to identify the program best suited for your recipe․ Common options include ‘Basic’ for standard loaves, ‘Whole Wheat’ for denser breads, and ‘French’ for crustier results․
For specialized baking, explore programs like ‘Sweet’, ‘Gluten Free’, or ‘Dough’ (for breads shaped manually)․ Pay attention to loaf size options – typically, you can choose between 500g and 750g․ Refer to your model’s instruction manual for detailed program descriptions and recommended baking times․ Selecting the correct program is vital for achieving the desired texture and flavor․
Understanding Baking Times and Crust Settings
Baking times on your Morphy Richards bread maker vary significantly depending on the selected program and loaf size․ Generally, a standard loaf cycle takes between 3 to 4 hours, encompassing kneading, rising, and baking․ Shorter cycles are available for quicker results, but may compromise texture․
Crust settings allow you to customize the bread’s exterior․ Options typically include ‘Light’, ‘Medium’, and ‘Dark’․ Experiment to find your preference․ Remember that darker crusts often indicate a more developed flavor; The instruction manual provides specific time guidelines for each program and crust level․ Consistent results require understanding these settings․

Advanced Bread Making Techniques
Explore diverse flours like whole grain and rye, and enhance your loaves with fruits, nuts, or seeds for unique flavors and textures․
Using Different Types of Flour (Whole Grain, Rye)
Experimenting with flour types elevates your bread-making experience․ Whole grain flours, offering a nuttier flavor and increased fiber, may require extra liquid due to their absorption properties․ Start by substituting up to 50% of the white flour with whole grain, adjusting liquid as needed for optimal dough consistency․
Rye flour introduces a distinctive, slightly sour taste and denser texture․ Similar to whole grain, rye flour absorbs more liquid․ Begin with a smaller proportion – around 25% – and gradually increase it in subsequent batches․
Remember that different brands of flour can vary in absorption, so monitoring the dough’s texture is crucial․ A slightly stickier dough is often preferable to a dry one when using alternative flours in your Morphy Richards bread maker․
Adding Fruits, Nuts, and Seeds
Enhance your loaves with delightful additions! When incorporating fruits, nuts, or seeds into your Morphy Richards bread maker recipes, timing is key․ Generally, add these ingredients during the second kneading cycle, after the initial gluten development․ This prevents them from being crushed or sinking to the bottom․
Dried fruits, like raisins or cranberries, should be chopped into smaller pieces․ Nuts can be added whole or coarsely chopped․ Seeds, such as sunflower or pumpkin seeds, contribute texture and flavor․
Avoid overloading the bread maker; a maximum of approximately 1-1․5 cups of total additions is recommended․ Consider a delayed start function for overnight baking with fruits for enhanced flavor infusion․
Gluten-Free Bread Making
Baking gluten-free bread in your Morphy Richards bread maker requires a specialized approach․ Gluten provides structure, so gluten-free recipes rely on alternative flours and binding agents․ Utilize a dedicated gluten-free bread mix or combine rice flour, potato starch, and tapioca starch․
Crucially, add a binding agent like xanthan gum or psyllium husk – typically 1-2 teaspoons per loaf – to mimic gluten’s elasticity․ Select the gluten-free program if your model has one; otherwise, use a basic program with a shorter rise time․
Gluten-free dough is often wetter, so monitor consistency and adjust liquids accordingly․ Expect a slightly denser loaf compared to traditional bread․
Recipes for Your Morphy Richards Bread Maker
Explore diverse baking with included recipes, from basic white bread to flavorful banana nut creations․ Fourteen bread recipes cater to various tastes and loaf sizes․
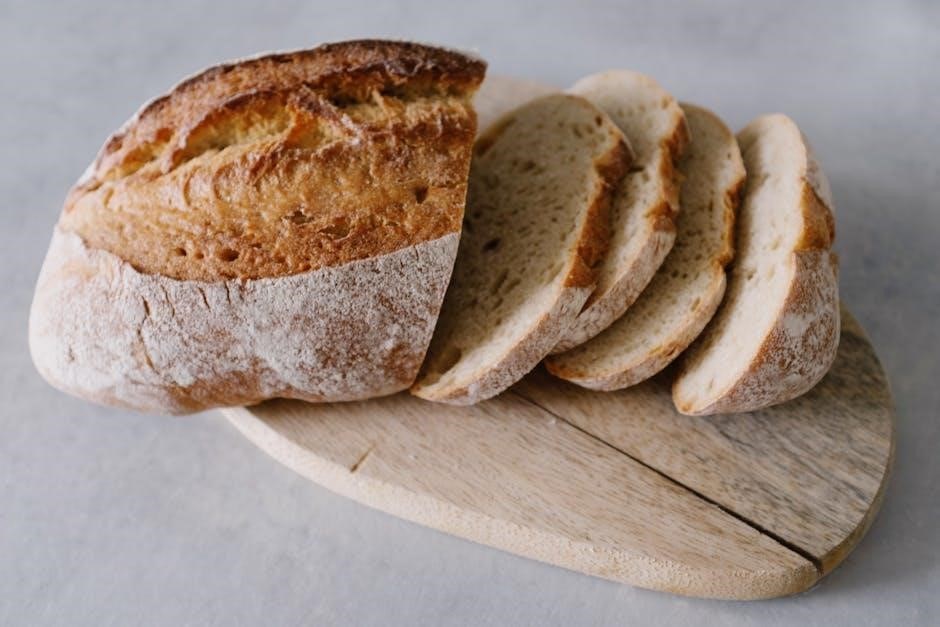
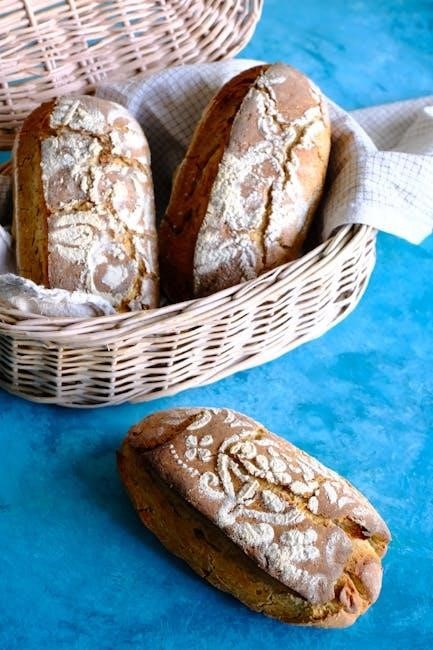
Basic White Bread Recipe
Ingredients: 300g strong white bread flour, 190ml warm water, 1 tsp sugar, 1 tsp salt, 1․5 tsp dried yeast, 25g butter (softened)․ This recipe provides a classic loaf, perfect for beginners․
Instructions: Add ingredients to the bread maker pan in the order recommended by your model’s manual – typically liquids first, then dry ingredients, with yeast last․ Select the ‘Basic’ or ‘White Bread’ program․ Choose your desired loaf size (often 750g or 1kg)․ Select a crust color – light, medium, or dark․ Press start and let the bread maker work its magic! Baking time will vary depending on the program, but generally takes around 3 hours․ Once baked, remove the loaf and allow it to cool completely on a wire rack before slicing and enjoying․
Whole Wheat Bread Recipe
Ingredients: 250g whole wheat flour, 50g strong white bread flour, 180ml warm water, 1 tbsp honey, 1 tsp salt, 1․5 tsp dried yeast, 20g softened butter․ Utilizing whole wheat offers a nuttier flavor and increased fiber․
Instructions: Add ingredients to the bread maker pan following the order specified in your manual – liquids first, then dry, yeast last․ Select the ‘Whole Wheat’ program, if available, or use the ‘Basic’ setting․ Choose your preferred loaf size and crust color․ Initiate the baking process․ Whole wheat bread typically requires a longer baking time than white bread, around 3-4 hours․ After baking, remove the loaf and cool completely on a rack before slicing․ Enjoy this wholesome and nutritious bread!
Banana Nut Bread Recipe
Ingredients: 3 ripe bananas (mashed), 250g strong white bread flour, 75g chopped walnuts, 75ml milk, 50g melted butter, 50g sugar, 1 egg, 1․5 tsp baking powder, a pinch of salt․ Ripe bananas are crucial for sweetness and moisture․
Instructions: Combine all ingredients in the bread maker pan, ensuring liquids are added before dry ingredients, and yeast (if used) is placed on top․ Select the ‘Sweet’ or ‘Cake’ program, adjusting the loaf size and crust preference․ Baking time will vary, typically around 1 hour 30 minutes to 2 hours․ Once baked, cool completely before slicing․ This recipe yields a moist and flavorful banana nut bread, perfect for breakfast or a snack!

Troubleshooting Common Issues
Common problems include bread not rising or being too dense․ Check ingredient amounts, yeast freshness, and program selection for optimal results․
Bread Not Rising
If your bread isn’t rising in your Morphy Richards bread maker, several factors could be at play․ First, ensure your yeast is fresh and active; expired yeast won’t provide the necessary lift․ Verify you’ve used the correct amount of yeast as specified in your recipe – too little, and the dough won’t rise sufficiently․
Also, check the water temperature; it should be lukewarm, not too hot or cold, as extreme temperatures can kill the yeast․ Confirm you’ve selected the appropriate program for your bread type, as different programs have varying rise times․ Finally, ensure the ingredients are added in the correct order, as this can impact the dough’s development and rising process․ A poorly sealed lid can also hinder proper rising․
Bread Too Dense
Dense bread from your Morphy Richards bread maker often indicates an imbalance in ingredients or issues with the rising process․ Too much flour, or not enough liquid, will result in a heavy loaf․ Double-check your measurements, ensuring accuracy․ Insufficient yeast, or yeast that’s past its prime, can also contribute to a dense texture, as it won’t produce enough gas for proper expansion․
Overmixing the dough, though less common in bread makers, can develop too much gluten, leading to a tough loaf․ Ensure you’re using the correct program setting; some programs are designed for denser breads․ Finally, a cold kitchen environment can slow down yeast activity, resulting in a less airy texture․
Error Messages and What They Mean
Error messages on your Morphy Richards bread maker signal specific issues requiring attention․ While specific codes vary by model, common errors include “Err 1” or similar, often indicating a power interruption during the baking cycle – restart the machine․ “Err 2” might suggest a temperature sensor malfunction, potentially needing servicing․ A message related to the lid indicates it wasn’t securely closed during operation․
If the machine displays an error concerning the kneading blade, ensure it’s properly attached․ Refer to your model’s manual for a complete list of error codes and their corresponding solutions․ Ignoring error messages can lead to incomplete baking or damage to the appliance․
Maintenance and Care
Regular cleaning extends your Morphy Richards bread maker’s life․ Replace parts like whisks and filters as needed, ensuring optimal performance and longevity․
Cleaning Your Bread Maker
Thorough cleaning after each use is crucial for maintaining your Morphy Richards bread maker․ Always unplug the appliance and allow it to cool completely before cleaning․ Remove the baking pan and kneading blade; wash them in warm, soapy water, then rinse and dry thoroughly․ The interior of the bread maker can be wiped clean with a damp cloth – avoid abrasive cleaners․
Ensure no water enters the electrical components․ The exterior housing should be cleaned with a soft, damp cloth․ Plastic filters for kettles and coffee makers (and potentially bread makers) are not covered under guarantee, so handle with care․ Regular cleaning prevents build-up and ensures consistent baking results, prolonging the lifespan of your appliance․
Replacing Parts (Whisk, Filters)
Maintaining optimal performance sometimes requires replacing parts in your Morphy Richards bread maker․ The kneading blade (whisk) may wear over time and should be replaced if bent or damaged, ensuring proper dough mixing․ While not explicitly detailed for all models, plastic filters – commonly used in Morphy Richards kettles and coffee makers – might be relevant for some bread maker functions․
Check your model’s specific documentation for compatible replacement parts․ Morphy Richards generally doesn’t cover servicing work or plastic filters under warranty, so sourcing replacements independently may be necessary․ Regularly inspecting and replacing worn parts contributes to the longevity and efficiency of your bread maker․

Warranty Information
Morphy Richards provides a guarantee on their bread makers, but servicing work isn’t covered․ Plastic filters aren’t included in the guarantee terms․
Morphy Richards Guarantee Details
Morphy Richards stands behind the quality of its bread makers, offering a standard guarantee to ensure customer satisfaction․ However, it’s crucial to understand the specifics of this coverage․ The guarantee typically covers manufacturing defects in materials and workmanship under normal household use․
Importantly, the guarantee does not extend to cover any servicing or repair work undertaken by individuals not authorized by Morphy Richards․ Attempting unauthorized repairs may void the warranty․ Furthermore, consumable parts, such as plastic filters designed for kettles and coffee makers (and potentially applicable to some bread maker functions), are explicitly excluded from guarantee coverage․
To benefit from the guarantee, customers are encouraged to register their product promptly to receive timely technical support and expert advice․ Retaining proof of purchase is also essential for any warranty claim․
Servicing and Repairs
Morphy Richards strongly advises against attempting self-repair of your bread maker․ Unauthorized servicing can compromise the appliance’s safety and will likely invalidate your warranty․ For any required maintenance or repairs, it’s essential to contact Morphy Richards’ authorized service network․
They have trained technicians equipped to diagnose and resolve issues effectively, using genuine Morphy Richards parts․ Contacting their support team ensures the longevity and optimal performance of your appliance․ Do not attempt to disassemble complex components without professional guidance․
Registering your product facilitates a smoother servicing experience, allowing quicker access to support and potentially simplifying the repair process․ Always prioritize safety and rely on qualified professionals for any technical interventions․